Toys! They are everywhere in my house! What is the perfect solution? Instead of recycling all those cat litter containers, turn them into toy storage!

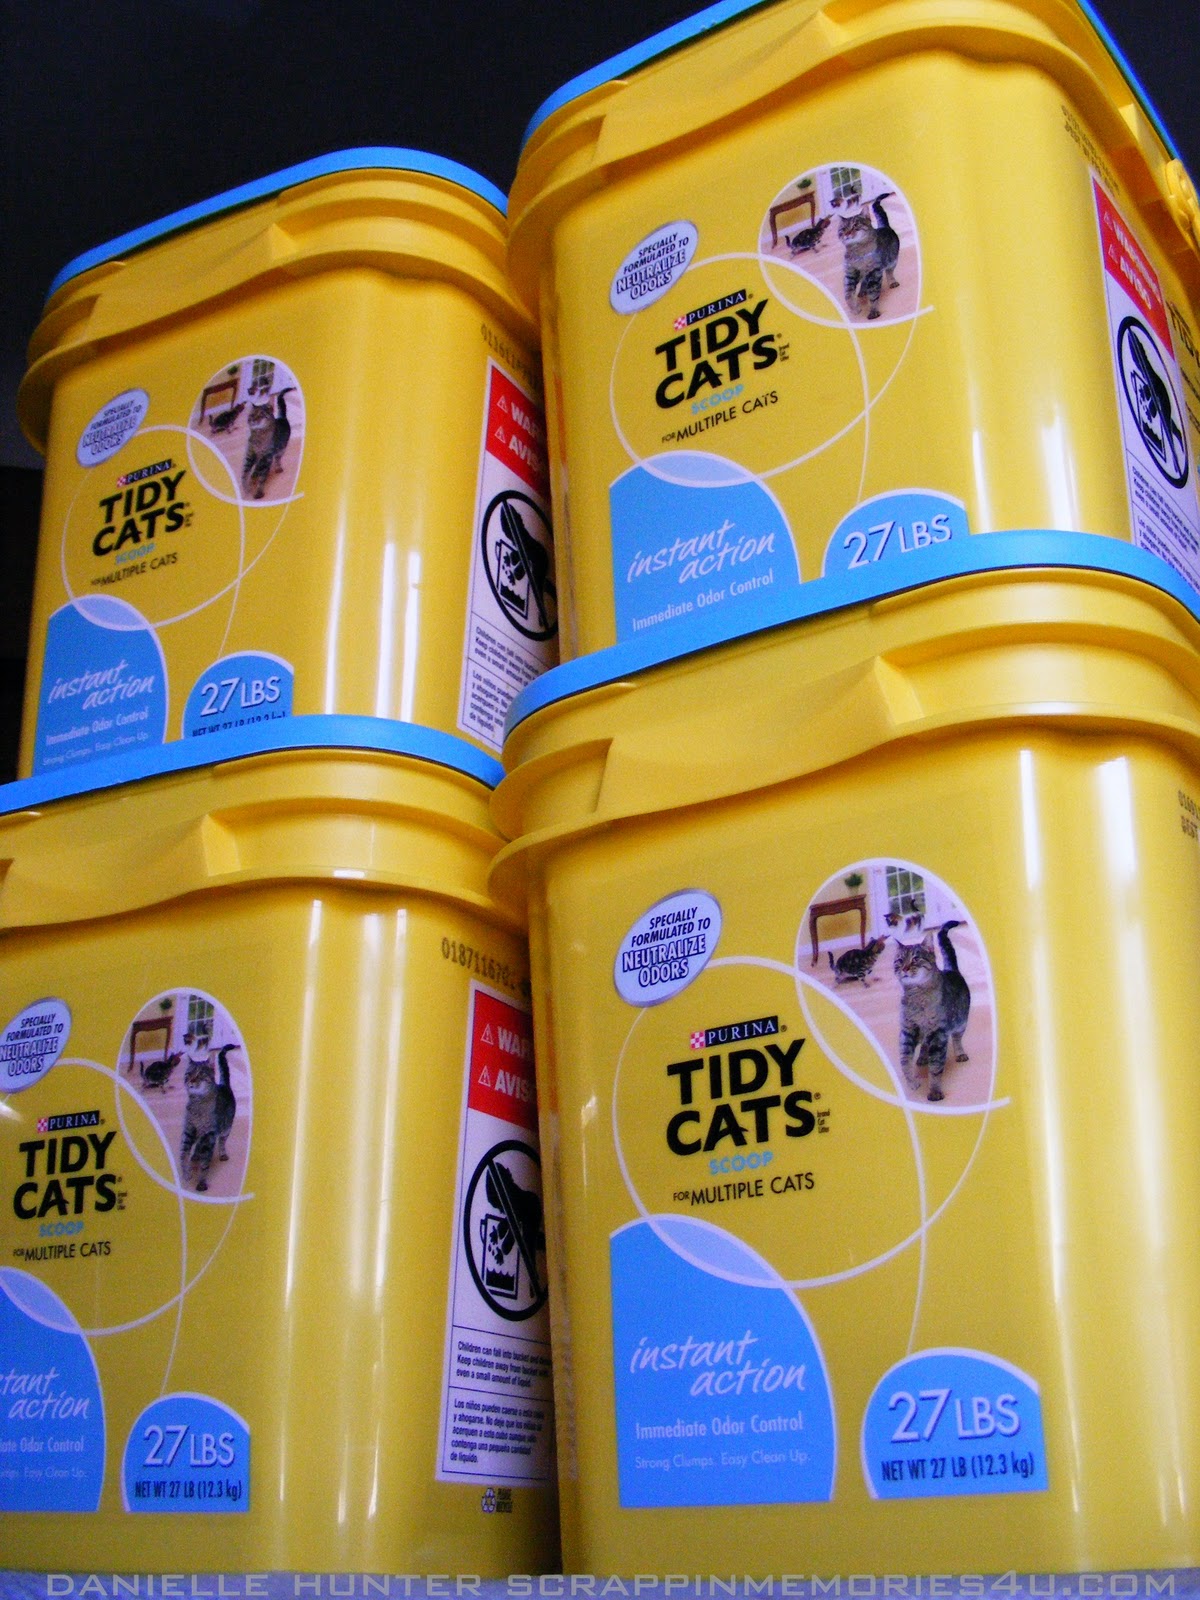
During a recent bedroom remodel, as I sorted through the teeny, tiny to the large and in the way kind of toys, I knew my two daughters needed more storage space. Then I thought of the cat litter containers that I've been saving for the perfect decoupage moment and I found it.
I love to scrapbook, but I also enjoy getting messy with gooey and sticky decoupage. And better yet, I could enlist the help of my children to assist me with my latest Glue Dots project.
Supplies:
- 4 cat litter containers, clean & dry
- Glue Dots® Dot N' Go: Removable & Poster
- decoupage
- kraft paper (leftover from Christmas packages)
- scissors/paper trimmer
- tape measure/ruler
- assorted cardstock
- circle punch
- acrylic paint
- paint brushes
- markers
1. Measure containers and cut kraft paper to size.

2. Apply decoupage in small sections and adhere the kraft paper to each plastic container, smoothing the paper as you go. (I chose to keep the paper crinkled since it was faster and easier to do with children. If you prefer a smoother surface like I did on my puzzle photo blocks, see the variations at the bottom of this post.) Trim the edges as necessary and apply a top coat of decoupage, paying close attention to the edges. Let dry.
3. Paint over the kraft paper and allow drying time.
4. Punch out several circles of coordinating cardstock and adhere each circle to the containers with the Removable Glue Dots® Dot N' Go (This was a perfect task for my two-year-old). By using Removable Glue Dots®, the design can easily be changed in the future.

5. Create labels for each container or download and print the photo below. Use a paper trimmer to cut the labels and have your child use markers to color them.
 | |
| Print full size on 8.5 x 11 white cardstock. Yes, you have permission to use the above labels for personal use. |
6. Adhere the labels to the storage containers using Poster Glue Dots®, which can be removed for new labels as toys come and go.

And there you have it! An easy, eco-friendly craft to do with your children on a weekend that serves a mighty purpose...toy organization!

Variations:
Thanks for stopping by Snap.Scrap.Blog.Tweet!
- Cut the kraft paper in small sections and use decoupage to apply each to the container, smoothing and removing bubbles before applying the next piece. Also see Thinking about life and a decoupaged door, where I show my decoupaged scrapbook storage container.
- Lightly sand, prime and paint the plastic storage containers instead of using decoupage.
Thanks for stopping by Snap.Scrap.Blog.Tweet!
You may also be interested in:
- How to Make a Super Fast Mini Scrapbook Album
- Wedding Favor Idea Using the Kanji Symbol for Love
- How to Make Cupcake Toppers for a Birthday Party
Disclosure: I wrote this blog post while participating on the Glue Dots design team.


