Showing posts with label kids craft. Show all posts

Wednesday, June 29, 2011

Summer Craft for Kids: Butterfly Gift Bag

Butterfly Wood Gift Bag
Have you been invited to a children's birthday party? Or are you planning a party and need an idea for goodie bags? This butterfly wood gift bag is so easy to make and can be a fun summer craft project for kids!


Supplies:

  • Glue Dots®: Micro, Permanent, Glue Lines
  • Our Craft Lounge: Blue-Berry Crafty Sparkles
  • wood gift box ($1 at Michaels)
  • painted carved wood butterfly ($.99 at Michaels)
  • white acrylic paint
  • paint brush
  • black ribbon


1. Apply two coats of white paint on the wood gift box. Let dry.

2. Adhere black ribbon to the box using Glue Lines® and tie a bow on the front handle.

3. Use Permanent Glue Dots® to attach the butterfly to the front of the box.

4. Place two Micro Glue Dots® on top of the butterfly's eyes, sprinkle on Crafty Sparkles and remove the excess.


Insert gift (or goodies) and you're done! Try these other Glue Dots projects:


Disclosure: This blog post was written while participating on the Glue Dots design team.

Thursday, March 10, 2011

Decorating Easter Eggs With Googly Eyes

Almost every year, I wait to the last minute to decorate Easter eggs and end up using a store-bought kit to dye the eggs in a variety of ways. But not this year!


Fun for the kids and easy to make, these googly-eyed Easter eggs are too cute to pass up!

Supplies:


1. Remove the flower tops from the stems and cut off the excess plastic on the back of the flower.

2. Adhere the flowers to the top of the eggs with Removable Glue Dots®.

3. Use Removable Glue Dots® to attach two eyes to each egg.


Now that was fast and mess-free!

Thanks for stopping by Snap.Scrap.Blog.Tweet!

You may also be interested in:

Disclosure: This blog post was written while participating on the Glue Dots design team.


Tuesday, February 22, 2011

Kids Craft Idea: Paper Rainbow for St. Patrick's Day

Looking for a fun and easy craft to do with the kids for St. Patrick's Day? Grab your paper scraps, Glue Dots® and a few other supplies for a simple project that can be completed in less than an hour.


Supplies:

  • 6 11" paper strips (red, orange, yellow, green, blue, purple)
  • 20 2" white circles
  • Glue Dots®: Pop Up & Craft
  • thin cardboard
  • 16" gold string
  • small hole punch

1. Cut cardboard into a 7x4" oval. Punch two small holes at the top, 3" apart. Insert the gold string and tie a knot.

2. Adhere circles to the oval using Craft Glue Dots® for the bottom layer and Pop Up Glue Dots® for the top layers.

3. Attach the paper strips to the back of the oval using Craft Glue Dots®.

Here's a closer look at the cloud:


And this is what the back looks like:


Now all we need is a pot of gold! Time to go hunting for leprechauns!

Thanks for stopping by Snap.Scrap.Blog.Tweet!

You may also be interested in:

Disclosure: I wrote this blog post while participating on the Glue Dots design team.

Thursday, February 3, 2011

7 Simple Ways to Scrapbook With Your Child


My eight-year-old daughter has been scrapbooking for most of her life. As a toddler, she sat with me and adhered stickers to paper and learned how to use decorative scissors. By the time she was in preschool, she had her very own scrapbook filled with photos, pretty paper and plenty of stickers. These days, she's busy taking photographs of her friends and family, as well as writing stories about her life. 

The layout at the top of this post is my daughter's most recent scrapbook page. She picked out the color scheme and embellishments, created the peace sign with crayons (a challenge inspired by If It's Groovy) and journaled her memories of the groovy-themed father/daughter dance she attended a few months ago.

I enjoy being able to share my love of scrapbooking with my daughter and happy that my youngest, age two, has taken an interest in the hobby as well.

Here are seven simple ways to scrapbook with your child:

1. Let your child look at scrapbooks and teach him/her how to properly handle the albums.

2. Pass unwanted supplies onto your child. (All kids love stickers!)

3. Share your scrapbooking books and magazines for ideas and inspiration.

4. Go shopping for your child's very own scrapbook and supplies.

5. Choose photographs to scrapbook together or allow your child to be the photographer to capture his/her own memories.

6. Create a routine of writing down memories of family, friends and special events.

7. Set aside time on a regular basis for the both of you to scrapbook together or invite friends over for a mini-crop.

Additional Resources:

Scrapbooking With Your Kids (Leisure Arts #4293) (Creating Keepsakes) 
Scrapbooking With Your Kids (Creating Keepsakes)

Creativity For Kids It's My Life Scrapbook Kit
It's My Life Scrapbook Kit (Creativity for Kids)

My School Memories: A Scrapbooking Kit
My School Memories: A Scrapbook Kit (Scholastic Books)

Thanks for stopping by Snap.Scrap.Blog.Tweet!

You may also be interested in:

Thursday, January 6, 2011

Kids Craft Idea: Upcycled Toy Storage Containers

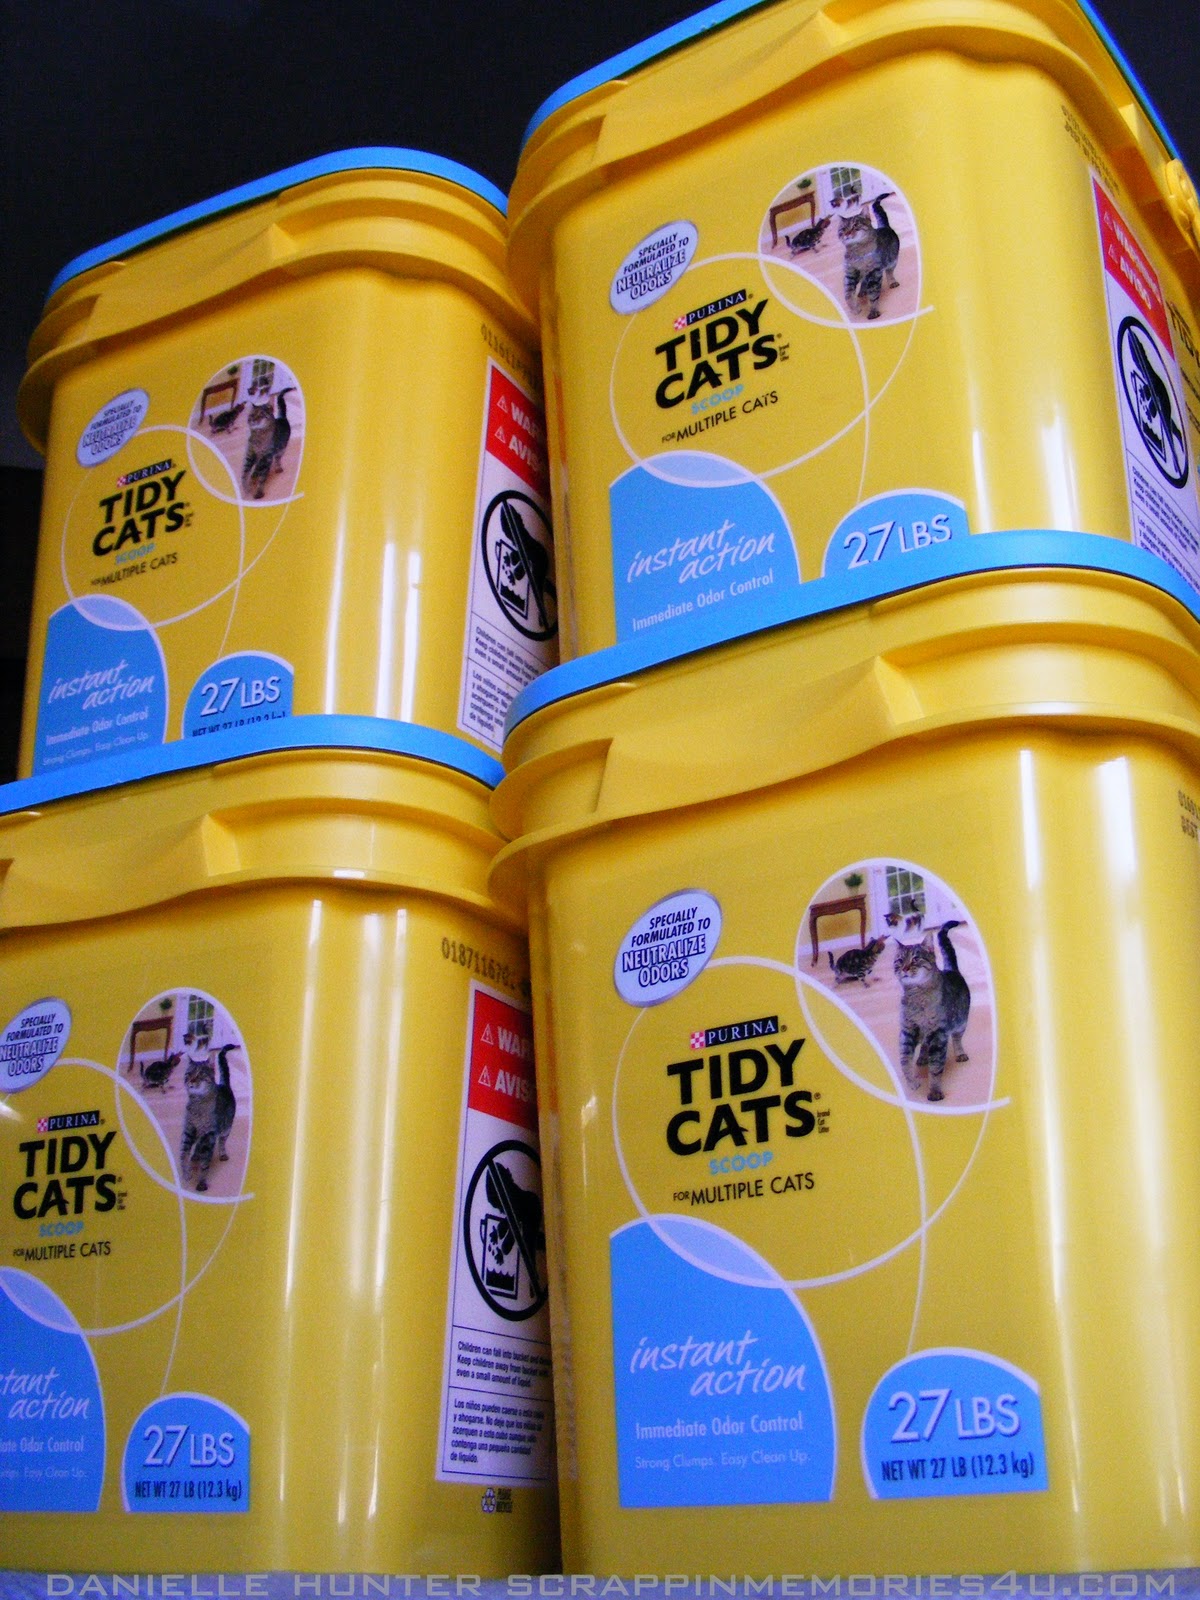
Toys! They are everywhere in my house! What is the perfect solution? Instead of recycling all those cat litter containers, turn them into toy storage!


During a recent bedroom remodel, as I sorted through the teeny, tiny to the large and in the way kind of toys, I knew my two daughters needed more storage space. Then I thought of the cat litter containers that I've been saving for the perfect decoupage moment and I found it.


I love to scrapbook, but I also enjoy getting messy with gooey and sticky decoupage. And better yet, I could enlist the help of my children to assist me with my latest Glue Dots project.

Supplies:

  • 4 cat litter containers, clean & dry
  • Glue Dots® Dot N' Go: Removable & Poster
  • decoupage
  • kraft paper (leftover from Christmas packages)
  • scissors/paper trimmer
  • tape measure/ruler
  • assorted cardstock
  • circle punch
  • acrylic paint
  • paint brushes
  • markers

1. Measure containers and cut kraft paper to size.


2. Apply decoupage in small sections and adhere the kraft paper to each plastic container, smoothing the paper as you go. (I chose to keep the paper crinkled since it was faster and easier to do with children. If you prefer a smoother surface like I did on my puzzle photo blocks, see the variations at the bottom of this post.) Trim the edges as necessary and apply a top coat of decoupage, paying close attention to the edges. Let dry.

3. Paint over the kraft paper and allow drying time.

4. Punch out several circles of coordinating cardstock and adhere each circle to the containers with the Removable Glue Dots® Dot N' Go (This was a perfect task for my two-year-old). By using Removable Glue Dots®, the design can easily be changed in the future.


5. Create labels for each container or download and print the photo below. Use a paper trimmer to cut the labels and have your child use markers to color them.

Print full size on 8.5 x 11 white cardstock. Yes, you have permission to use the above labels for personal use.
6. Adhere the labels to the storage containers using Poster Glue Dots®, which can be removed for new labels as toys come and go.


And there you have it! An easy, eco-friendly craft to do with your children on a weekend that serves a mighty purpose...toy organization!

Variations: 
  • Cut the kraft paper in small sections and use decoupage to apply each to the container, smoothing and removing bubbles before applying the next piece. Also see Thinking about life and a decoupaged door, where I show my decoupaged scrapbook storage container.
  • Lightly sand, prime and paint the plastic storage containers instead of using decoupage.

Thanks for stopping by Snap.Scrap.Blog.Tweet!

You may also be interested in:


Disclosure: I wrote this blog post while participating on the Glue Dots design team.